Flashing Installation Guide
Installation Guide and FAQ

FOR YOUR Safety


For Your Safety
When working on Roofing installations, care must be taken and proper safety precautions are met, such as wearing suitable clothing, footwear, hard hats and protective gloves. The edges of Sheets and Flashings are incredibly sharp and cut level 5 protective gloves should be worn. Additional information on safety assessments, and further information for working at heights along with additional legislative requirements, can be found on the HSE website (www.hse.gov.uk).
WHAT IS A RIDGE FLASHING?


RIDGE FLASHING
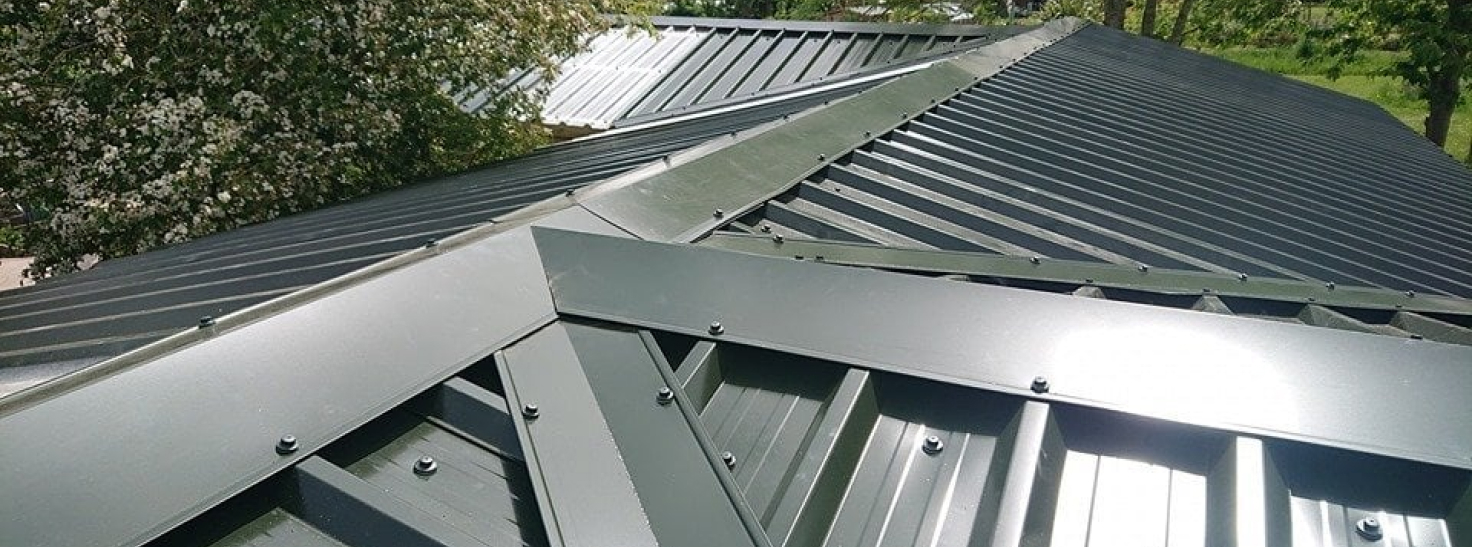
A Ridge Flashing is a 130-degree angled steel strip installed at the top of a building where two sides of a roof meet. A Ridge Flashing prevents any rain, snow, wind or vermin from entering and also reduces heat loss from the building.
Ridge Flashing installation is a task that should be carried out towards the end of your Roofing project. If you have a sloped roof with two sides, which meet at an apex in the middle, you will need to know how to install Ridge Flashings.
Roofs without adequate Barge Flashings could be a costly error that can be avoided by following this guide. All Ridge and Barge Flashings are manufactured on-site in a range of coatings including: PVC Plastisol, Polyester Paint, GreenCoat Mica BT, GreenCoat Pural BT, or plain Galvanised.
For Standing Seam Roofing Sheets and Flashings, please see our Standing Seam Installation Guide for further advice.
Ridge Flashing Installation

1
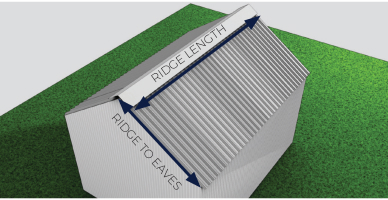
First, measure the length of your ridge. Ridge Flashings are manufactured at standard 3m lengths. When measuring the length of your ridge, be sure to add a minimum of 200mm per 3m to accommodate for overlapping Ridge Flashings. If the measurement of the ridge area does not equally divide into 3.2m sections, you can use additional overlap where required. This can be equal along the length for adequate coverage.

2
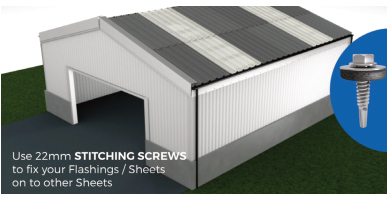
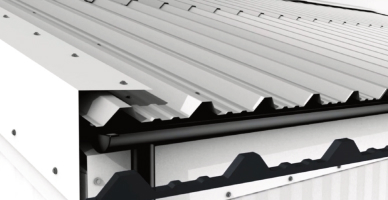
Begin by determining which end of your ridge area is least affected by the wind. Your first Ridge Flashing piece should be laid at this point. Each Flashing should be overlapped by the next Flashing by an absolute minimum of 150mm. Install the first Ridge Flashing using a 22mm Stitcher Screw. Insert the Stitcher Screw at the highest point of each Roofing Sheet profile that the Ridge Flashign is covering at regular intervals. The Stitcher Screw needs to be installed through the crest of the profile below.

3
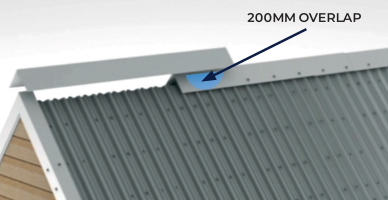
For any further Ridges Flashings, ensure the Flashings are overlapped by a minimum of 200mm each time and install following the previous steps, with 22mm Stitcher Screws inserted at the highest point of the profile at regular intervals. Any screw heads can then be finished and capped with matching Colour Caps.

4
Foam Fillers can be inserted underneath the Ridge Flashings, as well as along the eaves, to further protect the building from changing weather conditions, birds and vermin from entering.
WHAT IS A BARGE FLASHING?


BARGE FLASHING
A Barge Flashing is a 90-degree angled steel strip, designed to attach to the exterior of a building, normally to cover any corners or angles where Sheets may, or may not, meet.
Barge Flashings, otherwise known as ‘verges’, are used at the end of a Sheeting run, for aesthetic purposes, or for sealing any corners or angles. Barge Flashings protect the building from water, wind, or vermin entering, as well as preventing any heat escaping.
Ridge Flashings help to protect the interior of your project from different weather conditions. We manufacture all our Ridge and Barge Flashings on-site and in a range of coatings, including: PVC Plastisol, Polyester Paint, GreenCoat Mica BT, GreenCoat Pural BT, and plain Galvanised.
For Standing Seam Roofing Sheets and Flashings, please see our Standing Seam Installation Guide for further advice.
Barge Flashing Installation

1
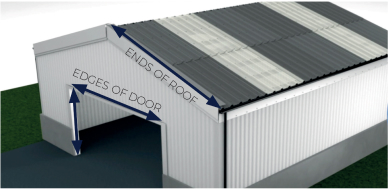
Measure the areas where the Barge Flashings will be installed. This includes the corners of the building, the edges of doors, and the sides of the roof. Ensure to add an additional 200mm per Barge Flashing to allow for overlaps. Barge Flashings are manufactured to 3m lengths.

2
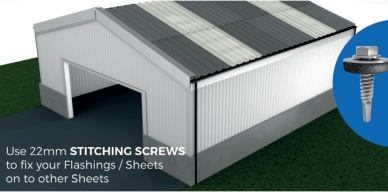
For any Barge Flashings which overhang a wall, timber joists may need to be fixed to the wall behind the Barge for added support. Install the first Barge Flashing using a 22mm Stitcher Screw on both sides of a 90-degree Barge Flashing. Insert the Stitcher Screw at the highest part of the Roofing Sheet profile which the Barge Flashing is covering at regular intervals. The Stitcher Screw needs to be installed through the crest of the profile below.

3
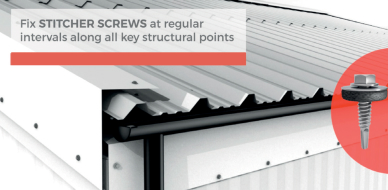
For any further Barge Flashings, ensure the Flashings are overlapped by a minimum of 200mm each time and installed following the previous steps, with 22mm Stitcher Screws inserted at the highest point of the profile at regular intervals.


4
Matching Cladco Colour Caps can be placed on top of the screw heads for a neat and stylish finish.
FAQs
Is composite fencing more expensive?
Composite Fencing is initially more expensive to purchase than traditional timber fencing, however, if you take into consideration the low-maintenance and long-lasting properties of the Composite material used to manufacture the fence panels, the cost is made up for in the long run as you do not need to spend money replacing or maintaining your fence for years to come.


